
This help article applies to Recruiteze: Online Applicant Tracking System only.
A Job Code can be configured only by the Administrators.
This should probably be the first thing you do once you sign up for the service, if you want the Job Code in a certain format for your Job Requisitions.
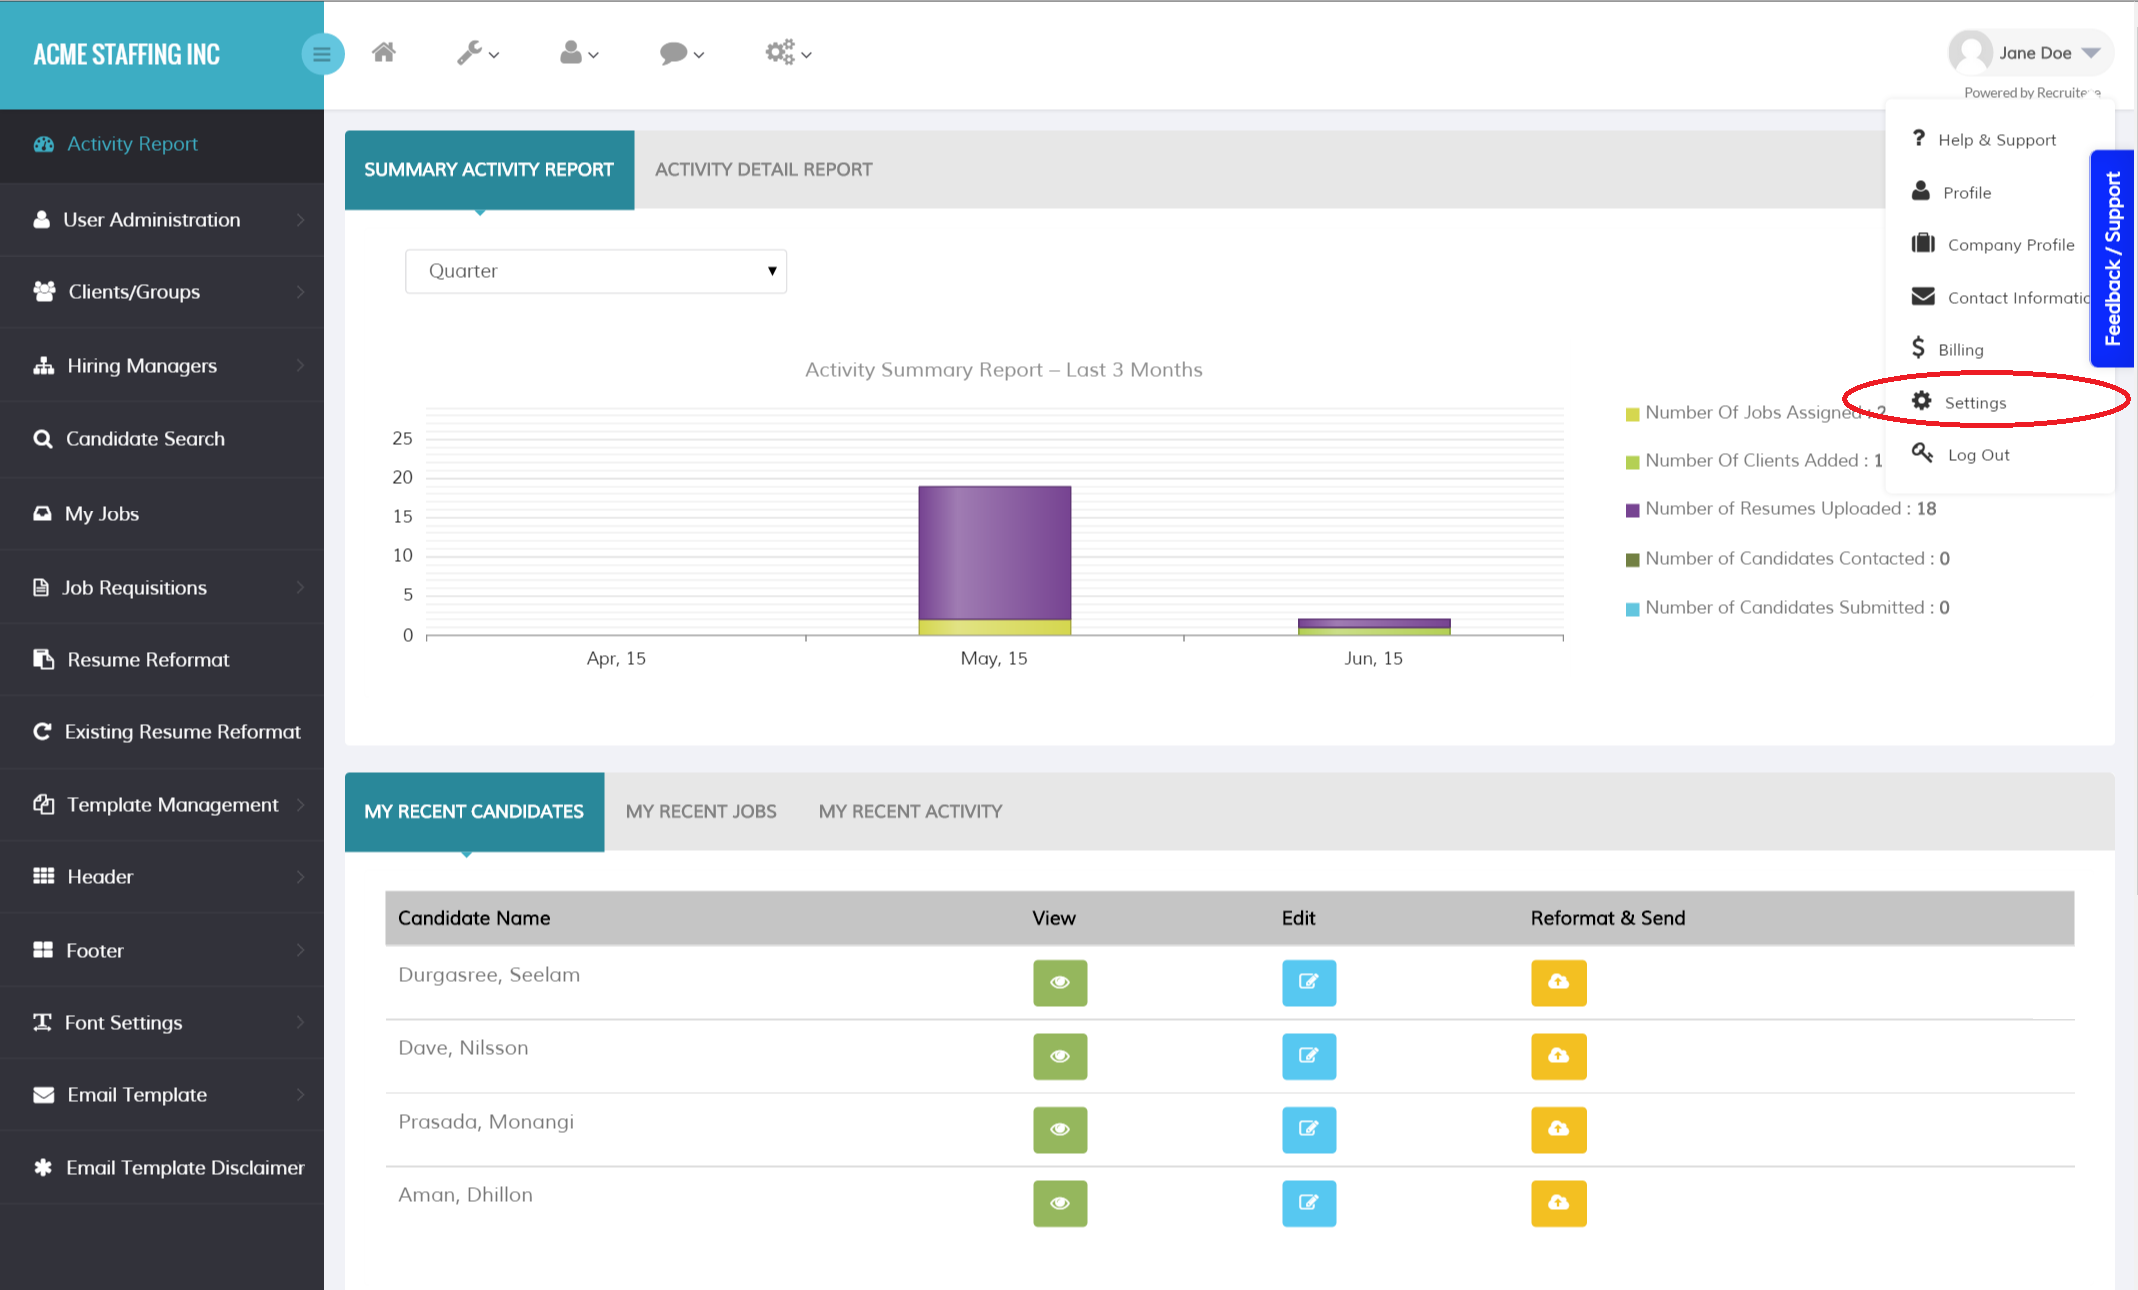
Click on the Settings button under the Logged In user name as shown in the image below.
Clicking on the Settings menu, opens up the Settings popup as shown in the image below.
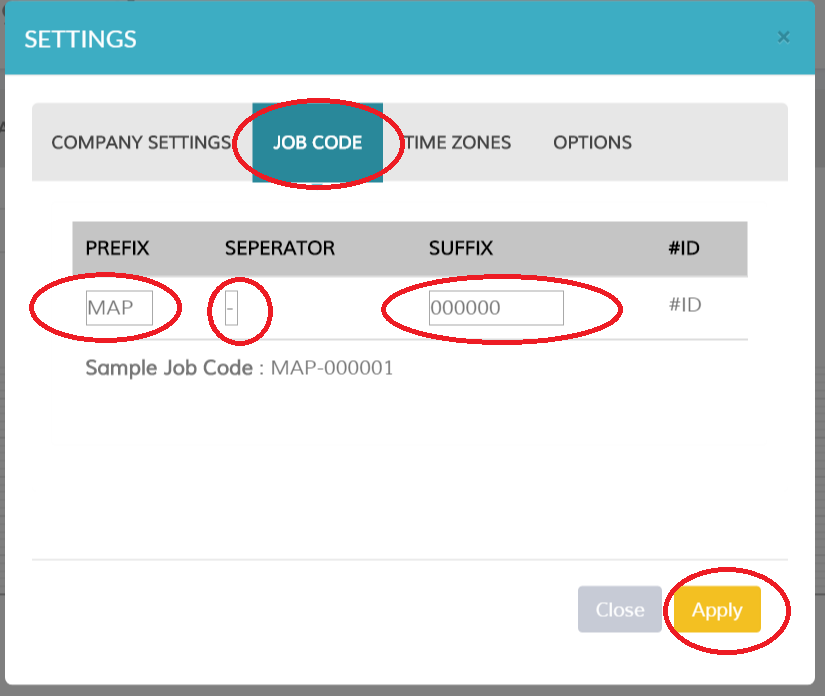
The Job Code Consists of three parts, a prefix, a seperator and a suffix and the last component is the ID. The ID is autogenerated and it starts with 1.
In the screen above the prefix is MAP, the seperator is “-” and the suffix is “00000”, so the first Job Code that will be generated will be MAP-000001, the next Job Code that will be generated will be MAP-000002.
Once you set your job code, click on the Apply button to apply the Job Code settings.
You can always change the Job Code if you need to later on.
Thanks to our users for the feedback and suggestions, it helps us to improve our product. Please send an email to support at recruiteze dot com if you have any questions/suggestions/feedback.
Learn more about Recruiteze and its amazing features here:
- How to search candidates by name or email
- Activity summary report
- How to view new or updated candidates
- How to import clients
- Guide on getting started with Recruiteze
- What is my login for Recruiteze or iReformat
Happy Recruiting!